Easy Paper Plate Rainbow Craft for Kids
This Paper Plate Rainbow Craft is a fun Spring craft for kids. It’s also a great idea if you need a St. Patrick’s Day craft or a simple craft for a weather unit.
Toddlers and preschoolers will have so much fun making their own paper plate rainbow. This fun activity will help develop fine motor skills, color recognition and more. Just follow the step by step tutorial below to see how it’s done.

Adult supervision is required for all activities at all times. Some of the links provided in this blog are affiliate links. I will be paid a commission if you use this link to make a purchase.
As the weather warms up, now is the perfect time to try some of these Spring activities for kids. I don’t know about you, but there’s something about the change in seasons that gets my kids excited about learning. Or you can invest in the Spring Activity Pack, which is filled with educational ideas for young kids.
Table of Contents
Materials Needed
- Paper plates
- Paint
- Paintbrushes
- A pen or black marker
- Safety scissors
- Cotton wool
- Glue stick
- Cardboard or thick white construction paper
How to Make a Paper Plate Rainbow Craft
1. Draw a rainbow.

Grab your pen, drawing lines down the middle of the paper plate, and then in several concentric circles.
You only need half of the plate to make this fun rainbow craft. So if you’re doing this activity at home with younger kids, either make a rainbow yourself or save the other half for some different paper plate crafts.
2. Cut it Out.
Use a pair of scissors to cut the paper plate in half, and remove the innermost semi circle.
3. Draw a cloud shape onto your piece of cardboard, and then cut them out.

Make these clouds at least as wide as the end of the rainbow. You can make 2 smaller clouds (one for each end), or 1 larger cloud that covers the entire paper plate half.
Use safety scissors to cut out the clouds. This is a great way for kids of all ages to practice their cutting and develop hand-eye coordination.
4. Paint the rainbow.

Give your kids the colors of the rainbow to use, however there’s no need to paint the colors in the actual rainbow order. I love letting young children choose what colors go where, because then all the rainbows are beautiful and unique.
5. Glue cotton balls onto your clouds.

I like to unravel and tear up each of the cotton balls before gluing. Keeping them whole feels like such a waste.
Lets not forget that all that tearing up the cotton balls before putting them on top of the glue is also great for little hands.
6. Paste on the clouds.

When the paint on your rainbow paper plate craft is dry, stick the clouds onto the outside edge of your beautiful rainbows.
When my kids are too impatient for the liquid school glue to dry, sometimes I turn the plate over and use sticky tape on the back of the plate to help keep them together.
7. Let it Dry.
Enjoy your colorful rainbow and hang them up on the wall once dried. Your class will love seeing their rainbows the next time they come into school.
Not only are arts and crafts fun to make with you class, they’re amazingly beneficial too.
More Spring Arts and Crafts for Kids
Are you looking for the perfect craft for Spring time? Here are some of my most popular Spring play ideas for toddlers and preschoolers who love kids craft ideas. Along with some fun Rainbow facts for kids, you’ll be having fun in no time.
- Egg Carton Insects
- Clothespeg bird craft for kids
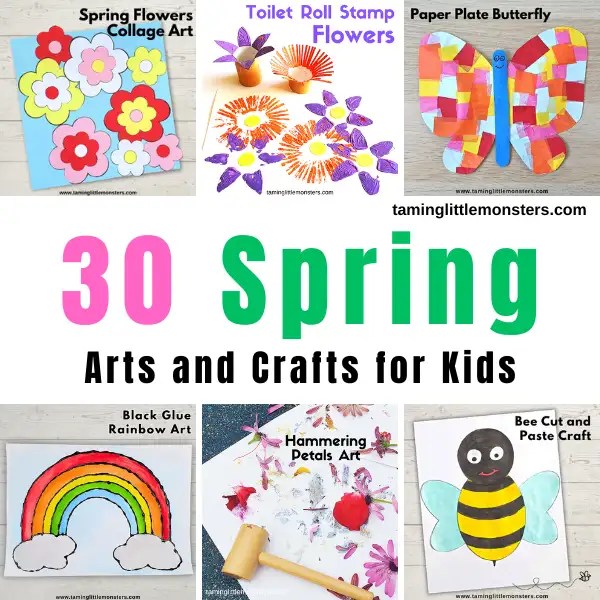
- Toilet Roll Stamp Flowers
- Hammering Flowers Art
- Spring Flowers Collage Art for Kids
- …
For more ideas, visit 30 Arts and Crafts for Spring or 20 Paper Plate Spring Crafts.

Spring Activity Pack
Over 90+ pages of Spring themed play based learning activities and craft templates. Perfect for preschool and kindergarten.
Are you going to make this Paper Plate Rainbow Craft with your kids? Don’t forget to pin the idea for later.